Showing posts with label Dot Markers. Show all posts

Saturday, February 5, 2011

Get all goofy with Egg Carton Aliens


I always love when I can combine an art activity and a play activity - or, in other words, make something to play with.

These Egg Carton Aliens are super easy and will allow your child to really use some creativity to make toys that they will, hopefully, play with for a while.

All you need is an egg carton (use some scissors to cut out the individual cups), tempera paint, and some alien creation goodies (googly eyes, fuzzy craft balls, etc.). 

Start by letting your little one paint the egg carton cups.

Once dry, you are ready to decorate.  For kids that have some difficulty with the creative process (i.e. get frustrated when they have to come up with idea on their own), you may want to make a model for them first and then ask them to make the same alien as you.  Or, you could try taking turns, "I put on an eye.  You put on an eye." 


And then, well, voila!  You have some out of this world aliens. 


I'm sort of partial to these birds that were declared, "Alien pets."  We made the wings with the scraps from our Valentine Garland activity.


A certain little guy I know worked on this alien for 25 minutes.  Talk about alien intensity!
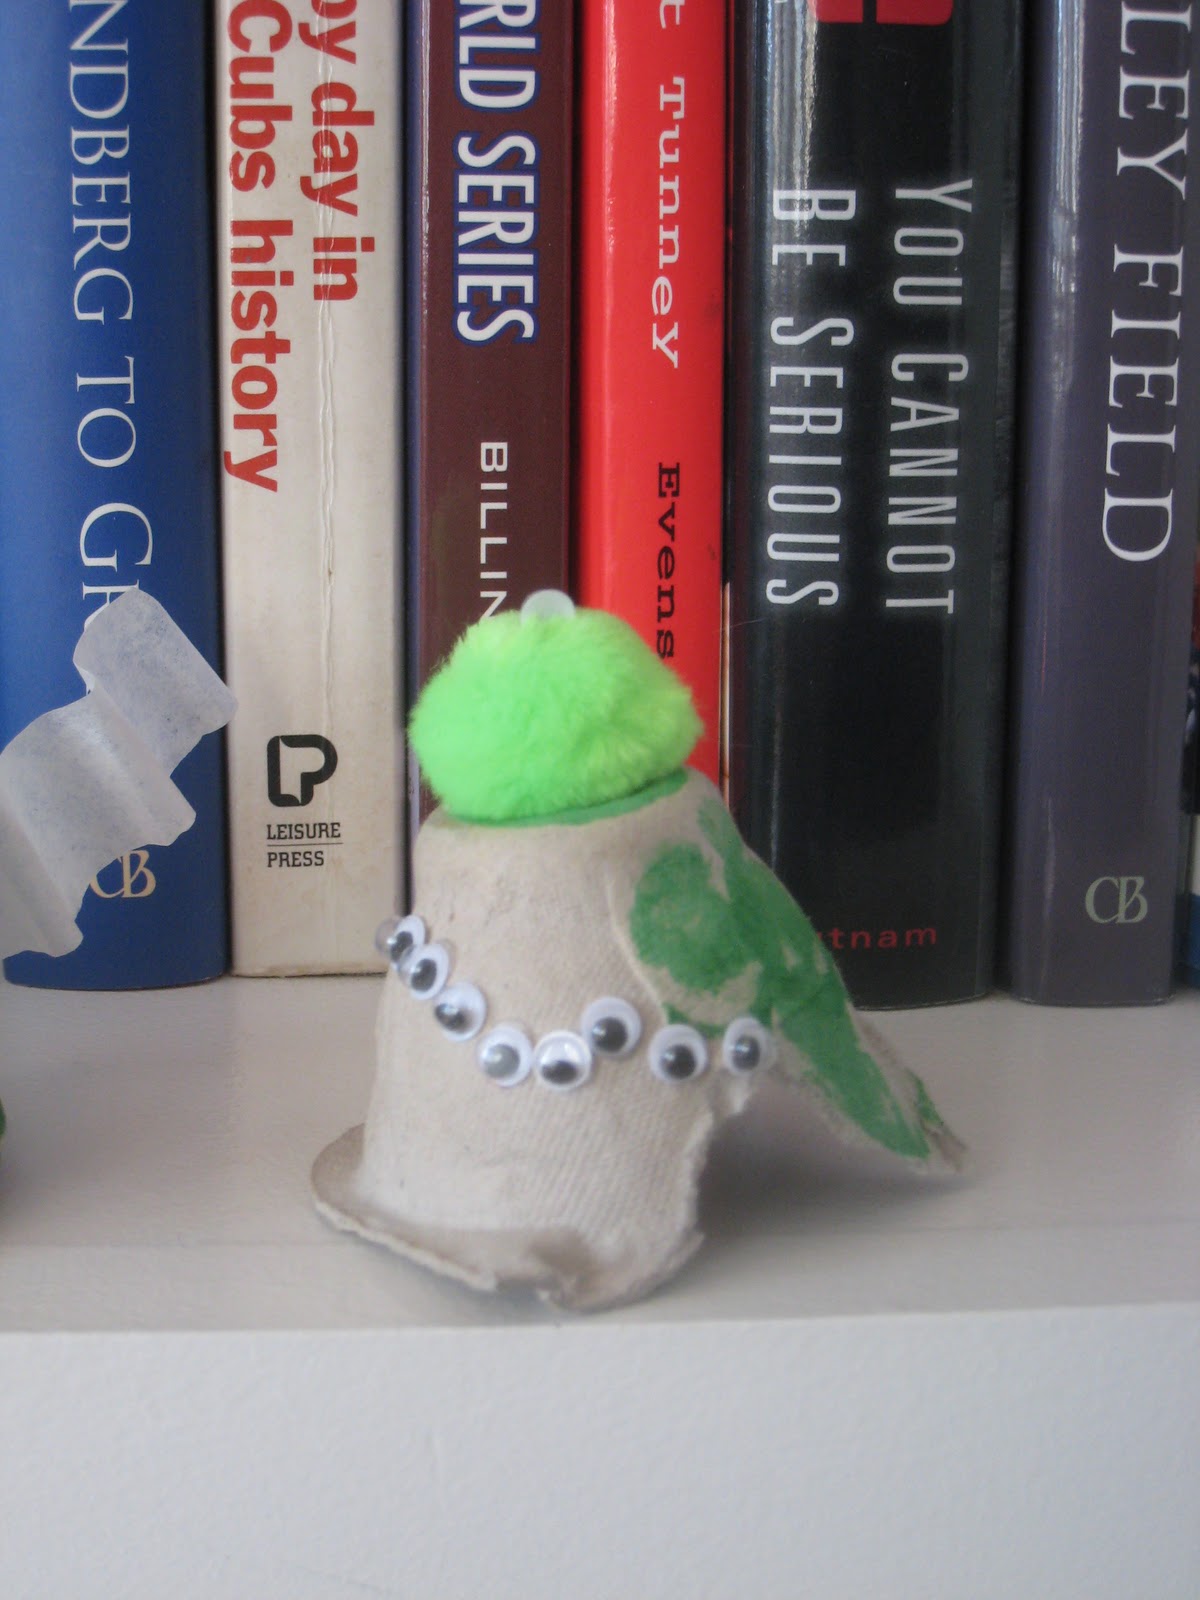

Now, your child will be chomping at the bit for these puppies - uh, aliens - to dry so that they can be played with.  Now, all we need is ship.  Shoe box anyone?

Hang up some love

More coffee filter action!  Your little one will adore decorating for Valentine's Day with this easy heart garland.  This is also a nice way to include children of all ages and abilities in one art project.  I find that when kids create together, they are even more proud of the finished product.

Start by getting some arty materials to decorate a coffee filter.  Once again, I love these dot markers.

But don't get shy to use glitter glue, markers, stamps, whatever tickles your fancy! 
Once you have a good number of filters decorated, cut out some hearts.  Just fold the filter into quarters and cut out the heart shape.  Be sure to leave some of the fold intact.  You will want to fold the heart over the string.
Next, lay out your string and hang your hearts.  You can glue the inside of the hearts to the string or for the lazy in the room (me!) just use some scotch tape.  I also dabbed a bit of glue stick on the inside so the back and front of the hearts stuck together.

And here's the finished product.  Pretty darn cute, if you ask me!


Wednesday, February 2, 2011

SNOW DAY!


We are officially snowed in here in Chicago with over 18" of snow.  Living in the city means that our streets won't get plowed for a few days and once you dig out your parking space, you don't want to leave for fear that you will lose it. 

So... we're here.  Inside.  For at least a day.  Or two. 


Which is great news for you (and me, too, I guess) because I can get caught up on the all the blog posts that have been marinating in my head waiting to get out to the blogosphere. 

On a snowy day, I can't think of a better activity than making coffee filter snowflakes.  You really don't need much:  Coffee filters, markers, water colors, safety scissors and whatever other decorating materials you can conjur up.  Personally, I love using dot markers for this activity.  They are fantastic tools for children of all fine motor abilities. 


Watercolors are great, too.

When it's time to cut shapes into the filter, just fold into quarters and cut cutting.  Younger artists may need you to draw shapes onto the filter to help them know where to cut.


Your child will love opening up his/her snowflake to see the design.

Be sure to hang them on a window for the full effect!